Are you wondering which camera accessories to buy next? With such a wide range of equipment available it’s difficult to know what you need or where to begin. In this article you’ll discover 9 must-have camera accessories that will help you take better quality photos, protect your equipment and keep you shooting when disaster strikes.
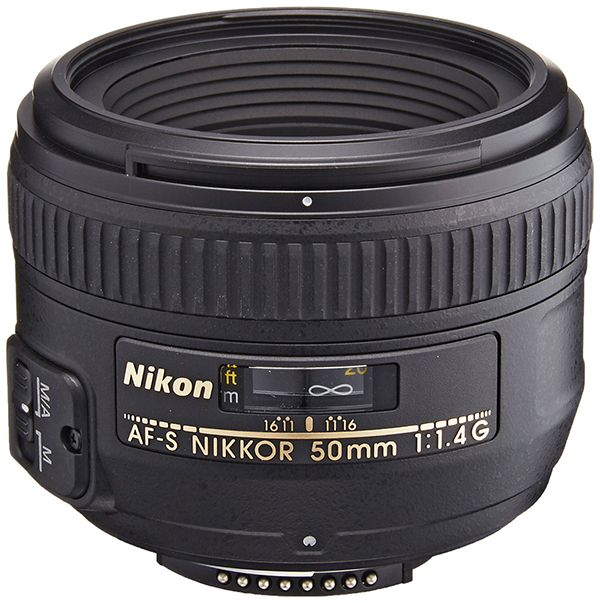
1. Fast Prime Lens
If you bought your camera with the standard kit lens it’s very likely you’ll want to purchase more lenses to increase the range of creative photographic opportunities available to you.
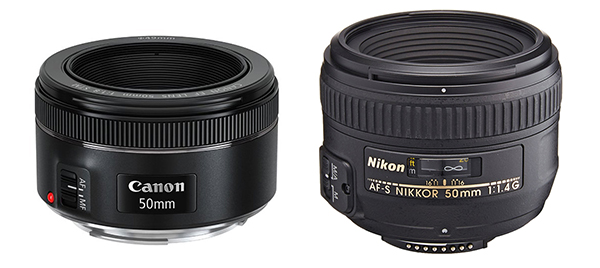
There’s a bewildering array of camera lenses available which makes choosing your first additional camera lens confusing. However, many professional photographers will tell you that your first lens purchase ought to be a fast prime lens .
.
A prime lens is one that has a fixed focal length – i.e. no zoom function. At first, this might seem a severe limitation however the image quality produced by a prime is superior to a zoom lens. This is mainly down to the fact there are fewer glass elements in a prime lens resulting in sharper images, less weight, less complexity and less to go wrong.
By “fast” we mean that the lens has a large maximum aperture size. This allows the capture of more light in less time, which means you can use faster shutter speeds, even in low light, and still get sharp, well-exposed results.
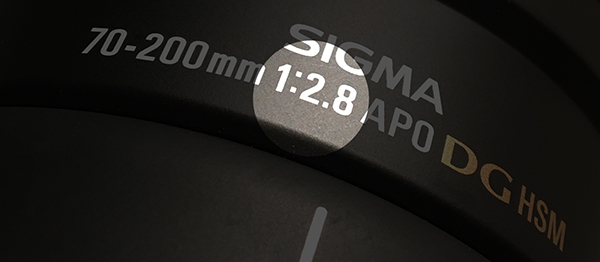
To check the maximum aperture of your lens look on the lens barrel for an f-number. The maximum aperture is displayed with a “f/” or “1:” prefix, e.g. “f/2.8” or “1:2.8”. The lower the f-number the faster the lens. A lens with an f-number of F2.8 or below is “fast”.
An added bonus with large aperture sizes, particularly on DSLR and Mirrorless cameras, is that you can achieve a very desirable and attractive shallow depth-of-field. This creates a beautifully blurred background which is great for making your subject stand out against a distracting background or foreground.
Prime lenses come in a wide range of focal lengths – e.g. 24mm, 50mm, 80mm, etc.
A 24mm prime lens is fairly wide angle and therefore perfect for landscapes and any situation where you want to capture more of the scene. Wide angle lenses do result in lens distortion where straight lines look slightly curved and result in unflattering portraits with distorted facial features.
A 50mm prime lens is a great general-purpose lens which captures the scene as our eyes see it – with no lens distortion.
An 80mm prime lens is often chosen for portrait photography as it’s considered to be more flattering on facial features. It also means you can stand slightly further away from your portrait subject which is less intimidating than having the camera close to the face.
2. Tripod
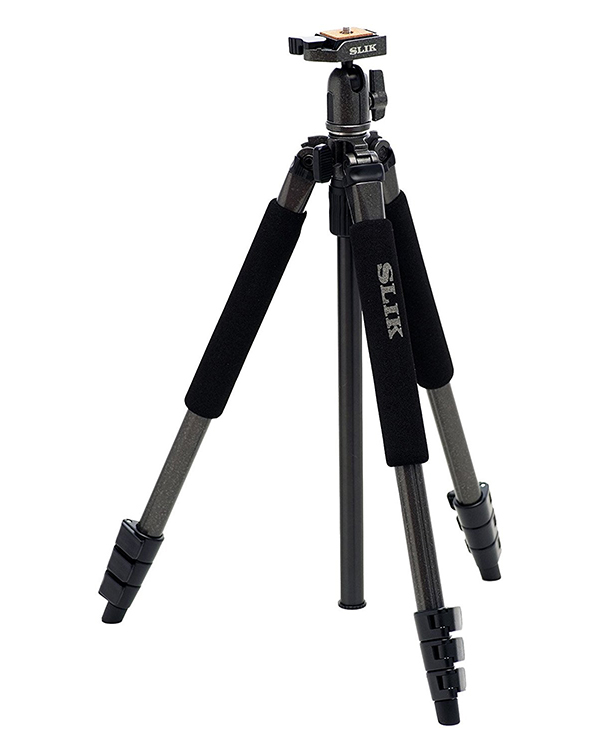
A tripod is essential for any kind of photography where you need to ensure the camera stays completely still as the photo is taken. This includes photography in low light, long exposures, landscape photography, self-portraits and macro photography. The SLIK Sprint Pro II GM Tripod below is a good example of a typical tripod.
In low light, your camera will need to use a slower shutter speed in order to capture enough light for a good exposure. If the camera moves while taking the shot the results will be blurry. A tripod solves this problem by keeping the camera totally still.
Product, landscape and portrait photography often involve taking many shots of the same scene. In these situations a tripod can act as a “third-hand”, freeing up your two hands for making adjustments to your product or portrait subject.
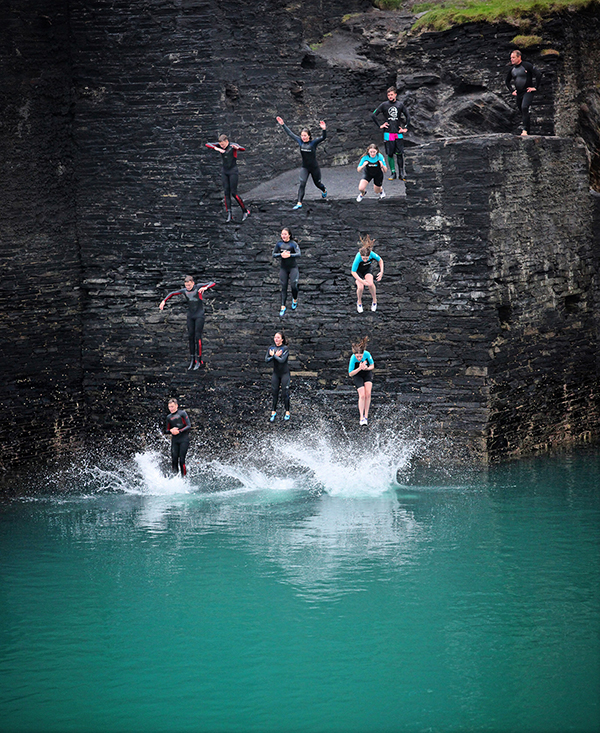
A tripod is really useful for sequence composite shots – where your subject is moving through the scene and you want to capture them several times to show the movement. To create the photo below I used a tripod to keep the camera in exactly the same position while I took several shots in burst-mode.
Tripods come in many different sizes. Small or medium-sized tripods are usually sturdy enough to support a smaller, lightweight DSLR with a kit lens. The larger tripods are better suited to supporting larger DLSR cameras and longer lenses.
Budget tripods are often made of heavier, cheaper materials – so if you need a lightweight tripod choose one made from carbon-fiber.
If a regular sized tripod seems overkill for your kind of photography there are several more compact alternatives.
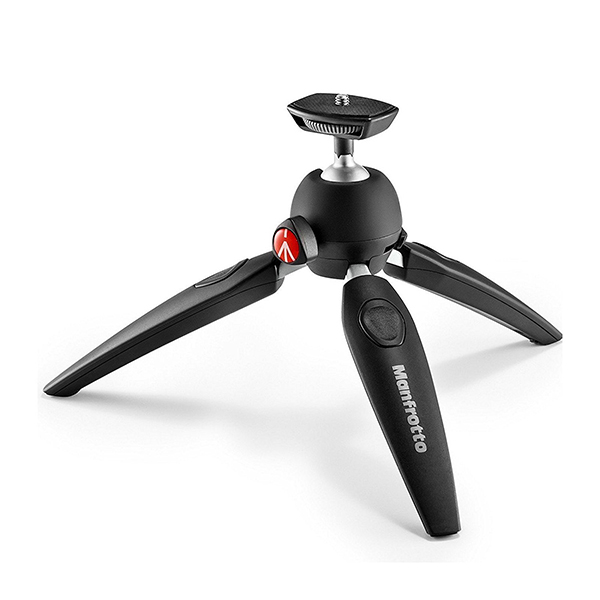
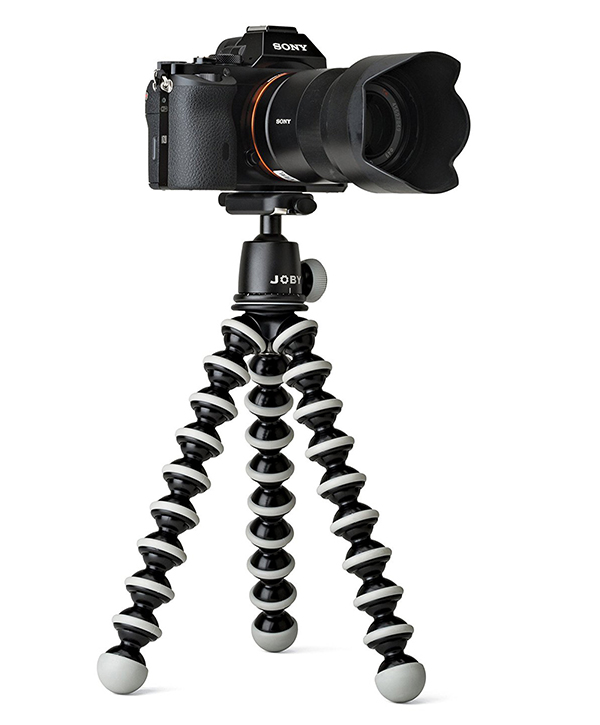
Check out the Manfrotto Pixi Evo Mini Tripod above or one of the larger Joby Gorillapod tripods
 (below).
Just make sure you choose a model large enough to support your choice of camera and lens.
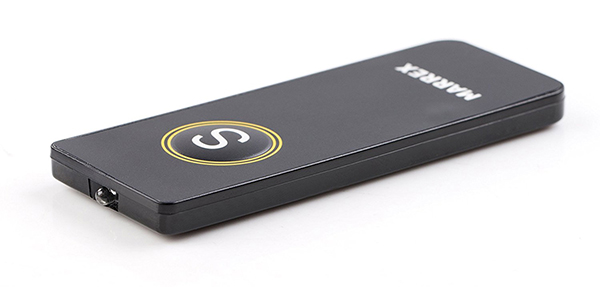
3. Remote Shutter Release
How can you include yourself in a group photo without using your camera’s built-in timer? What’s a good way to photographing the birds on bird-feeder with your camera close-up without scaring the bird by being too close? Can you take a long exposure without introducing camera shake?
These are all situations where a remote shutter release can help.
Some cameras allow official or third-party remote buttons to trigger the shutter using Infra-Red or Bluetooth.
Others require a physical cable-release system – either connected to a dedicated socket on the camera or the flash hot-shoe.
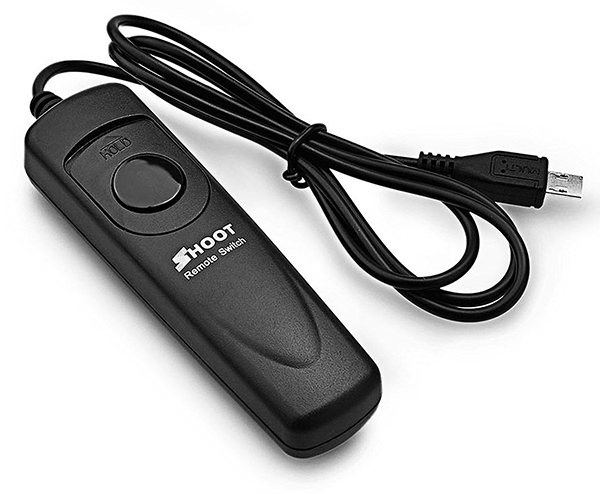
Remote shutter releases range from the most simple which just let you take a photo by pressing down the button, through to very complex and expensive models which include advanced timing (intervalometer) features so you can delay the shutter release, or take a sequence of photos at specific intervals.
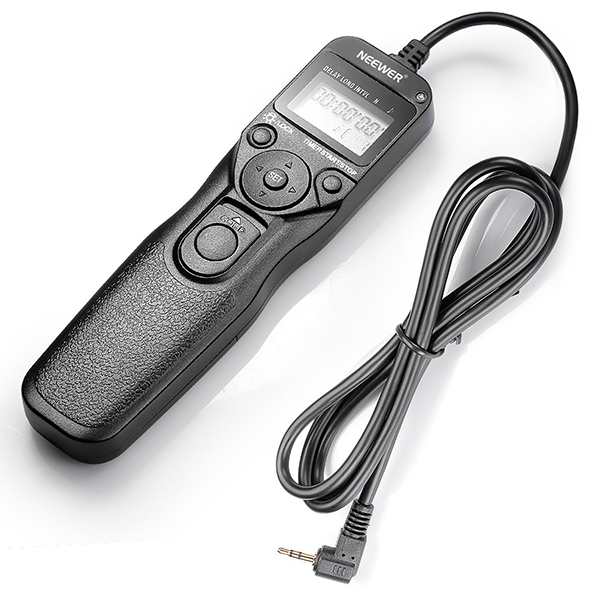
Some cameras will even allow you to trigger the shutter from within an app on your smartphone. Check your camera’s user guide to see if this is an option.
Be sure to get the correct remote shutter release for your camera.
4. Polarizing Filter
Some photographic situations benefit from the use of filters as the photo is being taken. One of the most useful is a polarizing filter.
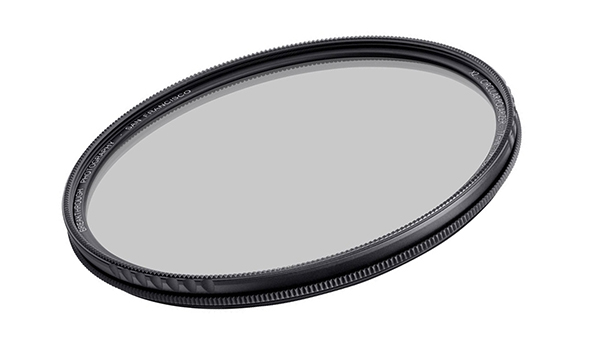
A polarizing filter can reduce or even remove harsh glare from reflections, boost color saturation and darken blue skies. While some of these benefits can be recreated in post-production it’s preferable to get the camera to capture them at the point of taking the photo. This is especially true of removing reflective glare which is sometimes impossible to do in post-production.
Below, a shiny large-leafed plant was photographed first without a polarizing filter (left) and then with a polarizing filter (right). The second photo has kept all the detail which was lost in the shiny areas of the first photo.

There are two types of polarizing filters – linear and circular. They have a virtually identical effect on your images but the circular polarizing filters are designed to make it easier for your camera’s metering system to get a good exposure.

Remember to get the right size for your lens diameter. You’ll find the diameter shown in millimeters next to the universal “diameter” symbol shown below.

If you have several lenses with different diameters you’ll either need multiple filters – or you can just get filters for the lenses you’re most likely to use for landscapes or other outdoor shots.
5. Spare Batteries
When buying a camera you usually blow the entire budget on the body and lenses – so it’s rare that people think to buy a spare battery at the outset. However, it’s a really important addition to your camera bag as it’s so frustrating to have to stop taking photos unexpectedly. Having spare batteries allows you to keep shooting – and you can be charging the other battery in the meantime.

It’s always best to stick to OE (original equipment) batteries – that is to say, batteries made by the manufacturer of your camera. These are guaranteed to work as expected, have a longer lifespan and won’t affect your manufacturer’s warranty.
If you do decide to purchase 3rd-party batteries then stick to the better-known, respected brands such as Hahnel or Wasabi.
6. Memory Cards
New cameras usually come with a memory card installed – but often it has a very limited capacity. So, it’s highly likely you’ll need an additional memory card.
 When choosing a memory card
Which Card Format?
There are just a handful of basic card formats found on digital cameras. The most common is an SD (Secure Digital) card but you’ll also see CFast and XQD cards. Some older cameras will have the less common CF or Compact Flash card and manufacturers are definitely starting to leave this format behind.
The important thing is to check your camera’s user manual to find out what format your camera requires.
Which Card Speed?
Cameras that have high frame rates, large sensors or pixel counts, or which provide video capture usually require a memory card which is capable of handling larger amounts of photo/video data at high speeds.
Using a memory card which is too slow can result in the camera’s buffer filling up too quickly. The camera has to stop and wait for the buffer to start to empty before it can continue capturing photos or video. Therefore it’s essential you have a memory card capable of the speeds your camera requires.
Again, your camera’s user manual will tell you the minimum requirement.
What Card Capacity?
As camera sensors get bigger and pixel counts rise, so the need for larger memory cards increases too. It’s tempting to get the biggest memory card you can afford – but what if you lost or damaged that card before you got all the photos off it? It’s better to spread the risk of losing photos across multiple cards. So instead of buying one 64GB card, buy two 32GB cards. It’ll cost you more but the additional peace of mind is worth the extra cost.
Below you’ll find charts showing roughly how many photos you’ll be able to store on cards of different sizes. To use the charts, first pick either the JPEG or RAW chart based on which image capture format you prefer. Next, look down the left-hand column for the number of megapixels which is closest to your camera’s megapixel count. Lastly, look across that row to see the number of images each capacity (shown in the top row) can hold.
JPEG Images

RAW Images

7. Memory Card Reader
There are several ways to get your photos off your camera. The most common is to connect your camera to your computer using a USB cable supplied by the camera manufacturer. WiFi-enabled cameras allow the wireless transfer of photos to your computer. Some computers have an SD card reader built in – so you can simply remove the SD card from your camera and plug it straight into your computer.
The most flexible method is to use a memory card reader as it can be used in more situations. For example, when your camera has run out of battery, or the computer you want to transfer photos to doesn’t have a built-in card reader, or when using WiFi isn’t an option.
The Transcend TS-RDF8K card reader below is popular, accepts several different memory card formats and offers fast image transfer via USB3.0.
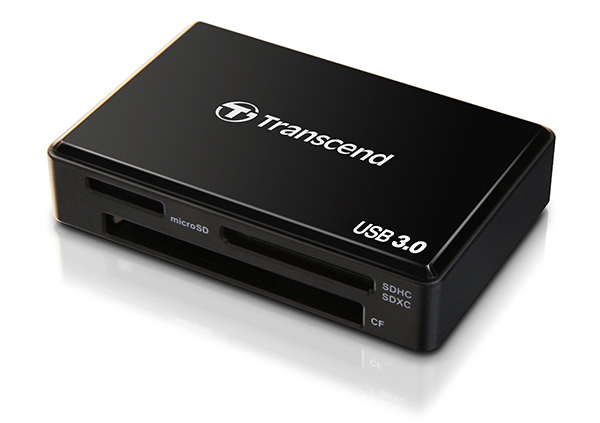
Be sure to get a card reader that’s compatible with your card technology – otherwise, you may find transfer speeds are much slower than you’d like.
8. Camera Neck, Shoulder Or Wrist Strap
Not the most exciting item but perhaps one of the most important. Without a strap, you will drop your camera one day. It just isn’t worth the risk.
Most new cameras come with a basic neck strap – usually branded with the camera manufacturer’s name and logo. Typically these are thin, narrow and therefore not very comfortable when carrying your camera for long periods. They also draw attention to the fact you’re carrying around expensive camera equipment – which may not be wise.
Camera neck straps come in a variety of sizes, designs and colors – so you’re sure to find something you like.
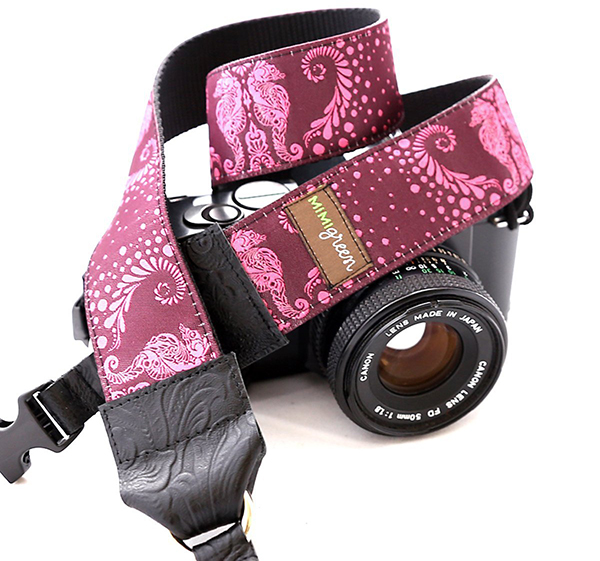
The Mimi Green ‘Shelly’ Designer DSLR Camera Strap is a great example of something a little different and is available in several colors.
If you regularly carry your camera around with you for long periods of time, make sure you get one with a larger contact area over the shoulder – and with some padding.
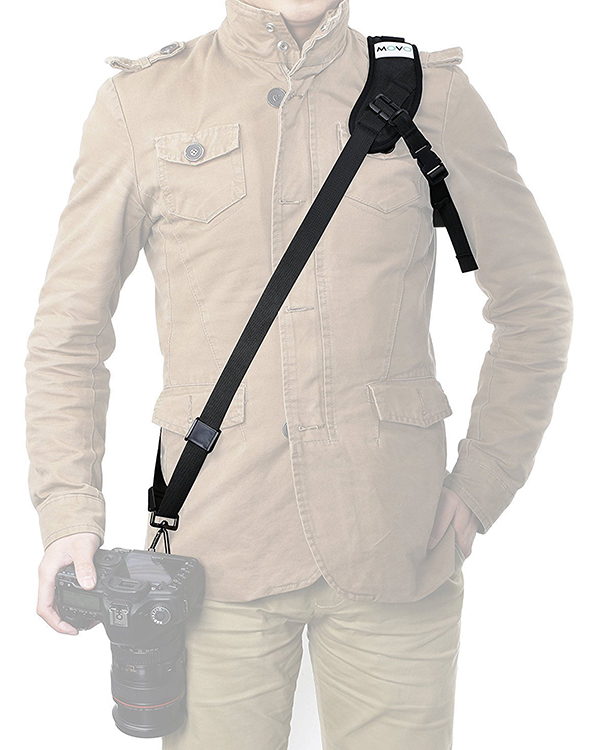
Most simple straps leave your camera dangling down your front. This can be a nuisance as you’ll find you often bash it on things – especially with a longer lens mounted. Also, suspending heavy cameras and lenses from your neck can cause serious discomfort. A popular alternative to the neck strap is a shoulder-harness strap incorporating a connecting strap which passes under the arm. This keeps the camera on your waist or hip which you may find preferable. Importantly, the weight of the camera is supported by your shoulder, not your neck. The Movo Shoulder Strap pictured below shows how the strap is worn.
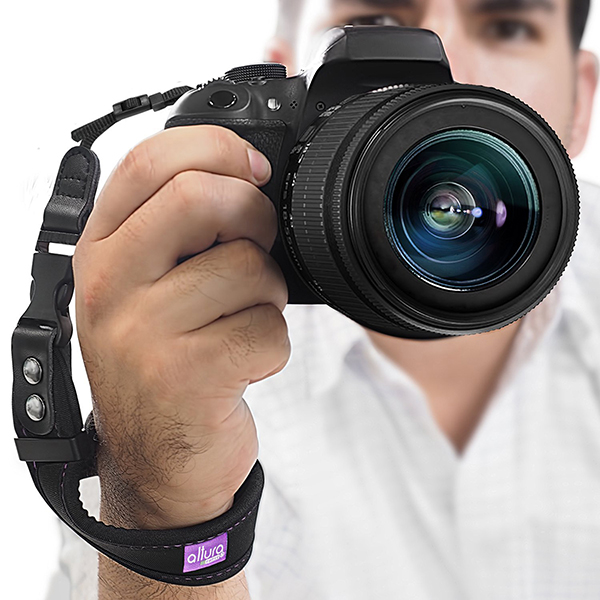
Another good solution, if you don’t like having camera equipment hanging around your neck, is the wrist strap. The Altura Photo Camera Hand Strap below is a good example.
9. Camera Bag
Protecting your expensive investment with a camera bag is really important. Don’t leave it until your camera has had a few knocks before you invest in a bag. Purchase one right at the start.
You’ll be pleased to know that camera bag styles have come a long way from the boring beige canvas bags of yesteryear. There are styles to suit every taste and budget. What they have in common is well-padded compartments for your camera and accessories.
Before choosing a camera bag it’s important to consider how much photographic gear you have. Allow some spare capacity for future purchases, such as some of the other items featured in this article.
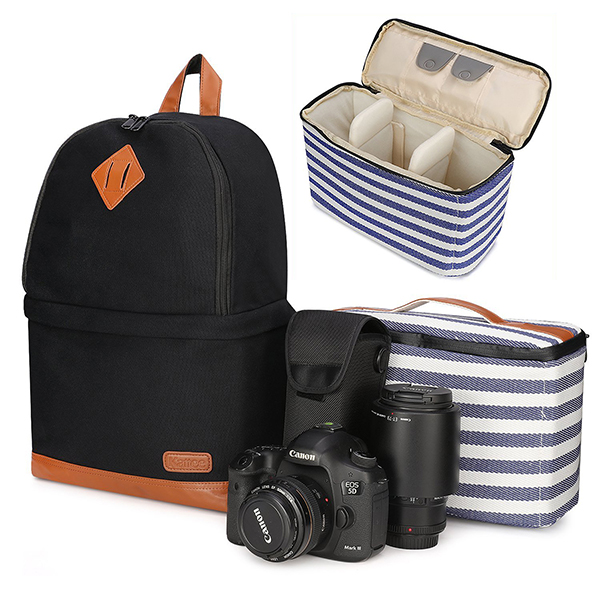
Do you need to carry a laptop or iPad around with you too? If so, there are plenty of larger camera bags which offer padded protection for these – including the Kattee Professional Canvas SLR DSLR Camera Backpack Laptop Bag Case pictured below – which will accommodate a 14″ laptop and comes in black, blue or pink.
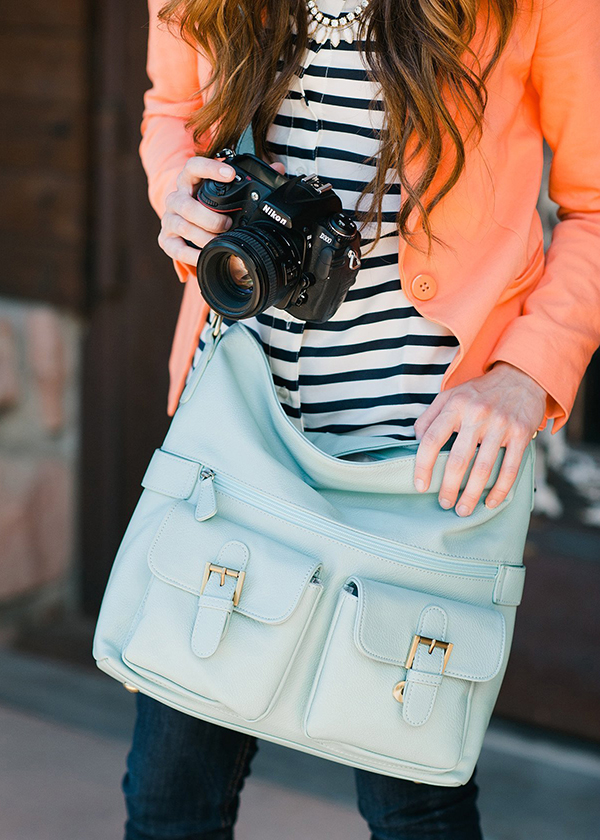
Consider whether you want to draw attention to the fact you’re carrying around valuable camera equipment. Maybe you’d prefer to use a less noticeable bag or carry your camera bag inside another, less obvious bag. Aimed at female photographers, the Jo Totes Gracie Camera Bag below doesn’t look like a camera bag at all, yet it has the same padded compartments you find in more conventional camera bags.
Camera Accessories: Summary
Hopefully, this overview of some of the available camera accessories helps you prioritize your photography accessory purchases.
To summarize, a fast prime lens, tripod, remote shutter release and polarizing filter will help you take better photos. A camera bag and strap will help protect your valuable equipment. Additional batteries and memory cards will keep you shooting.
With these things addressed, you can really apply your attention to the most important thing – taking great photos!